AI-Powered Catalog Platform
AI catalog enrichment at scale
Enrich, manage, and scale your catalog with AI
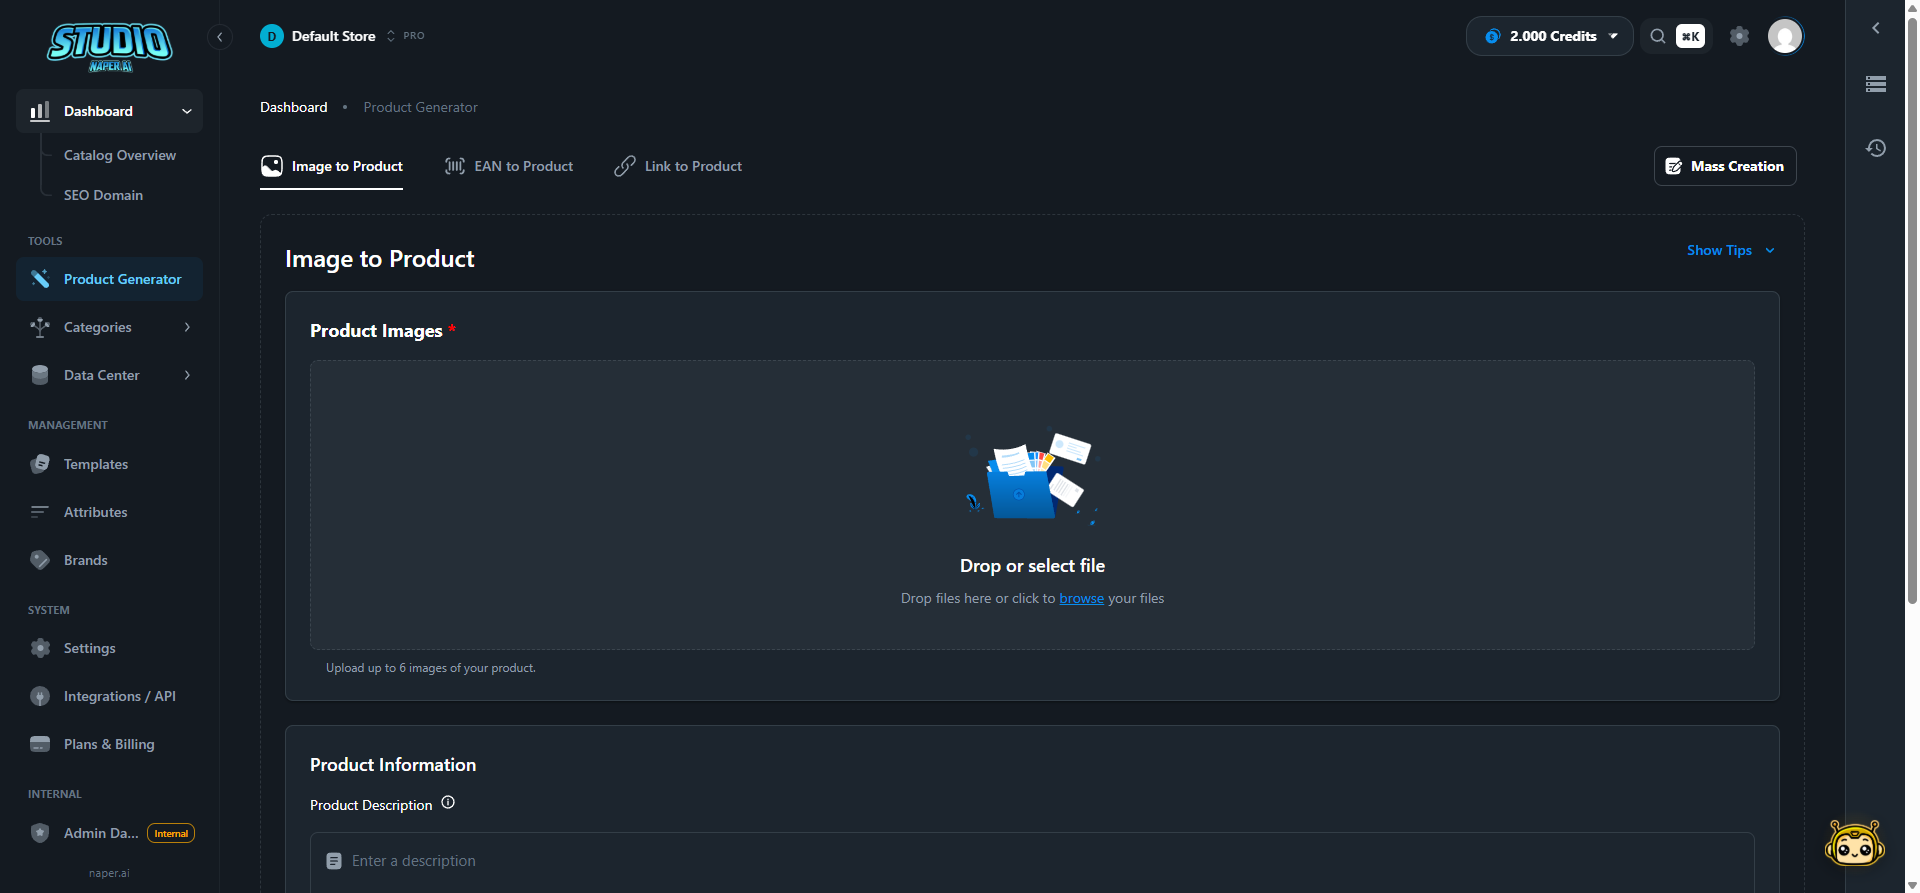
Product Generator
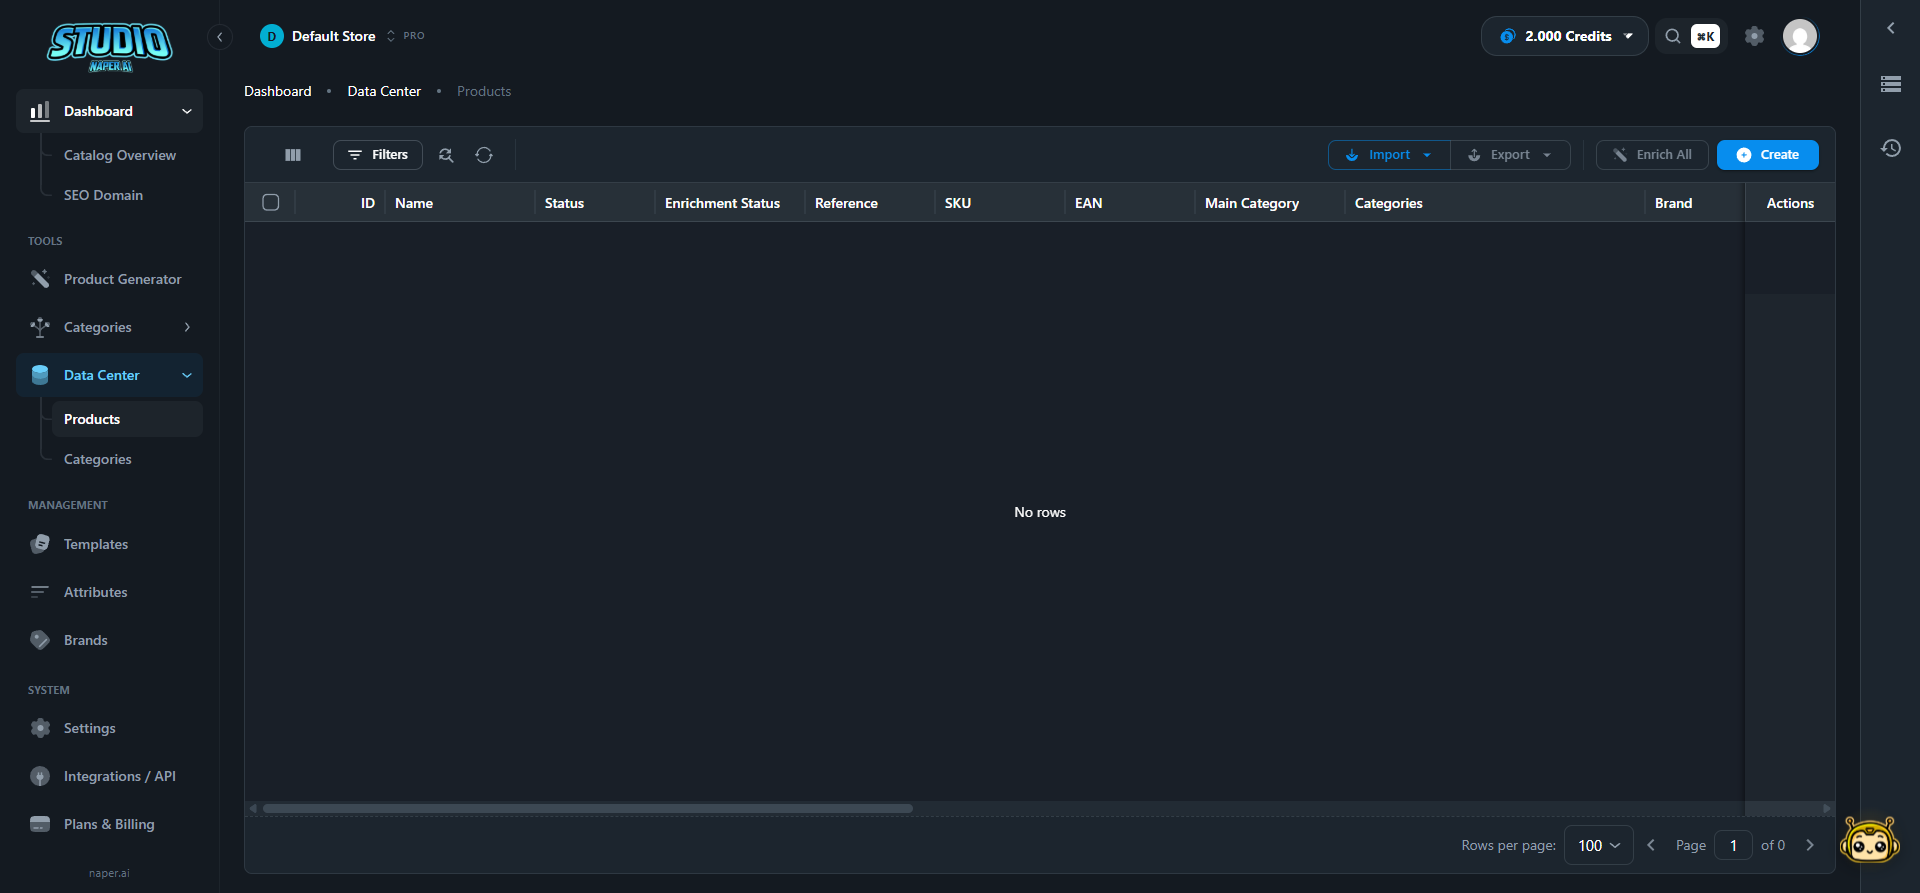
Data Center
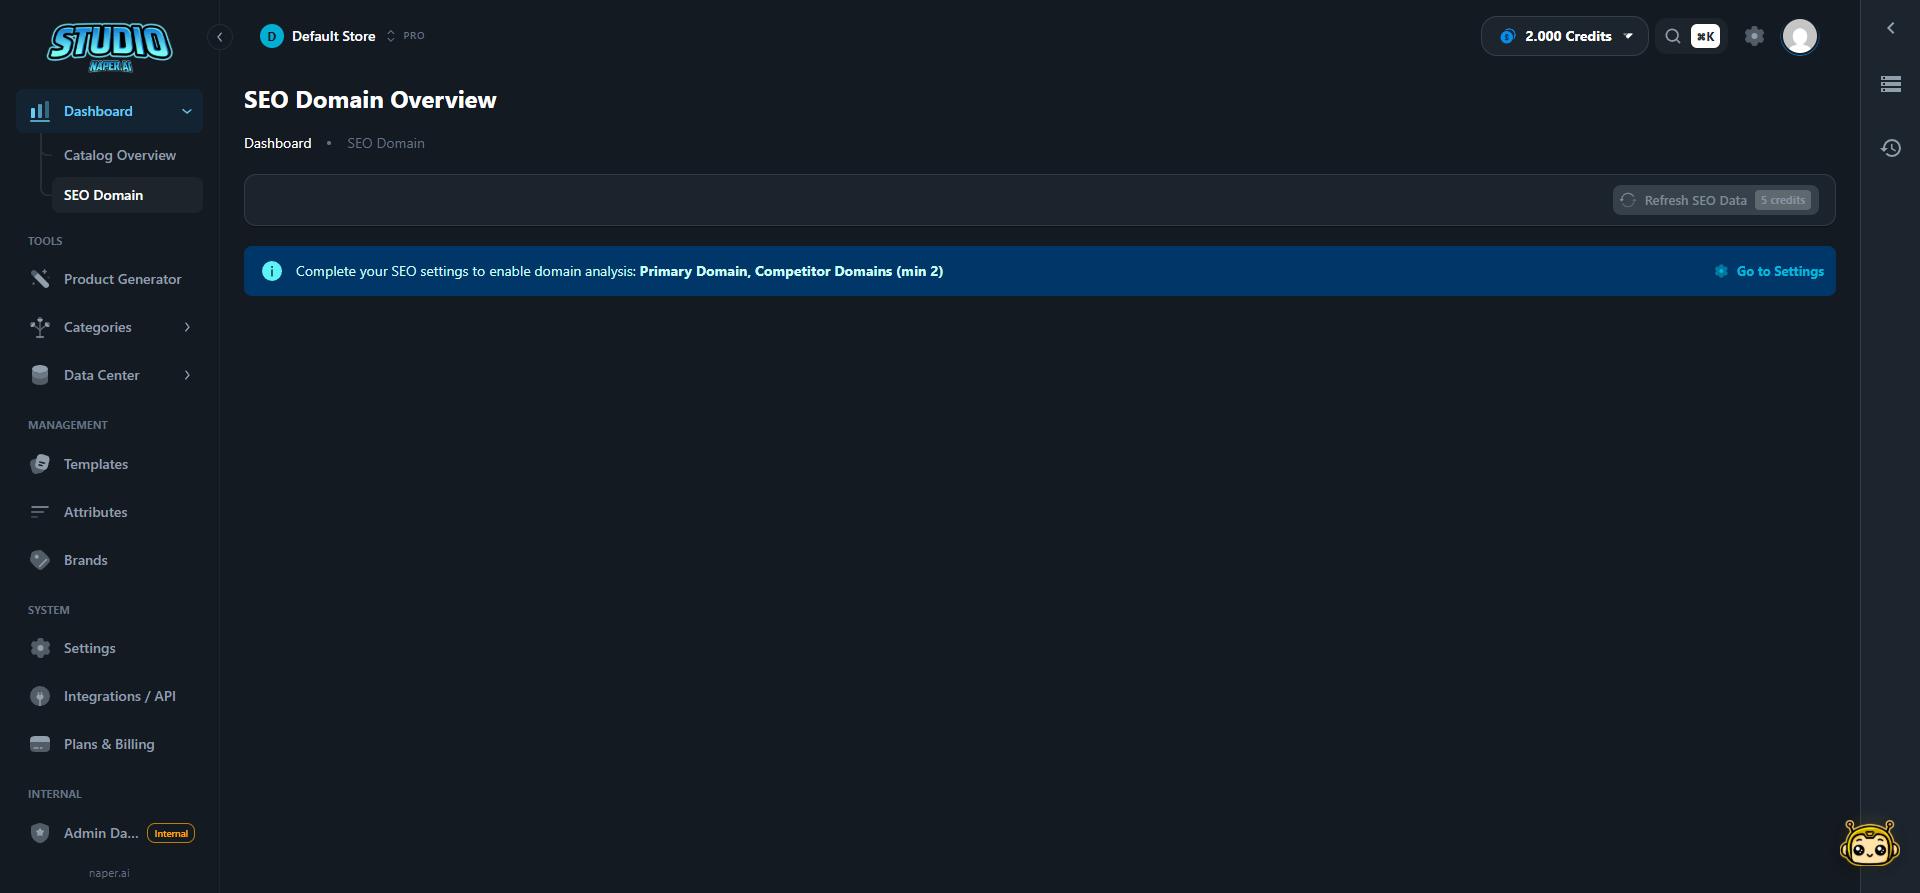
SEO Intelligence
Image Search
Categories
Pay as you Go

Doug
Your AI catalog agent
Ask me anything or pick a quick start below.
Generate a Product
Enrich Products
Set Up Catalog
Health Audit
Quick Prompts
Featured Missions
Import catalog from Platform and analyze catalog score
Enrich all products from Platform
Sync enriched data back to Platform
Migrate catalog from Platform to Platform
Generate
Generate Product
Product Photos
Catalog
Manage Categories
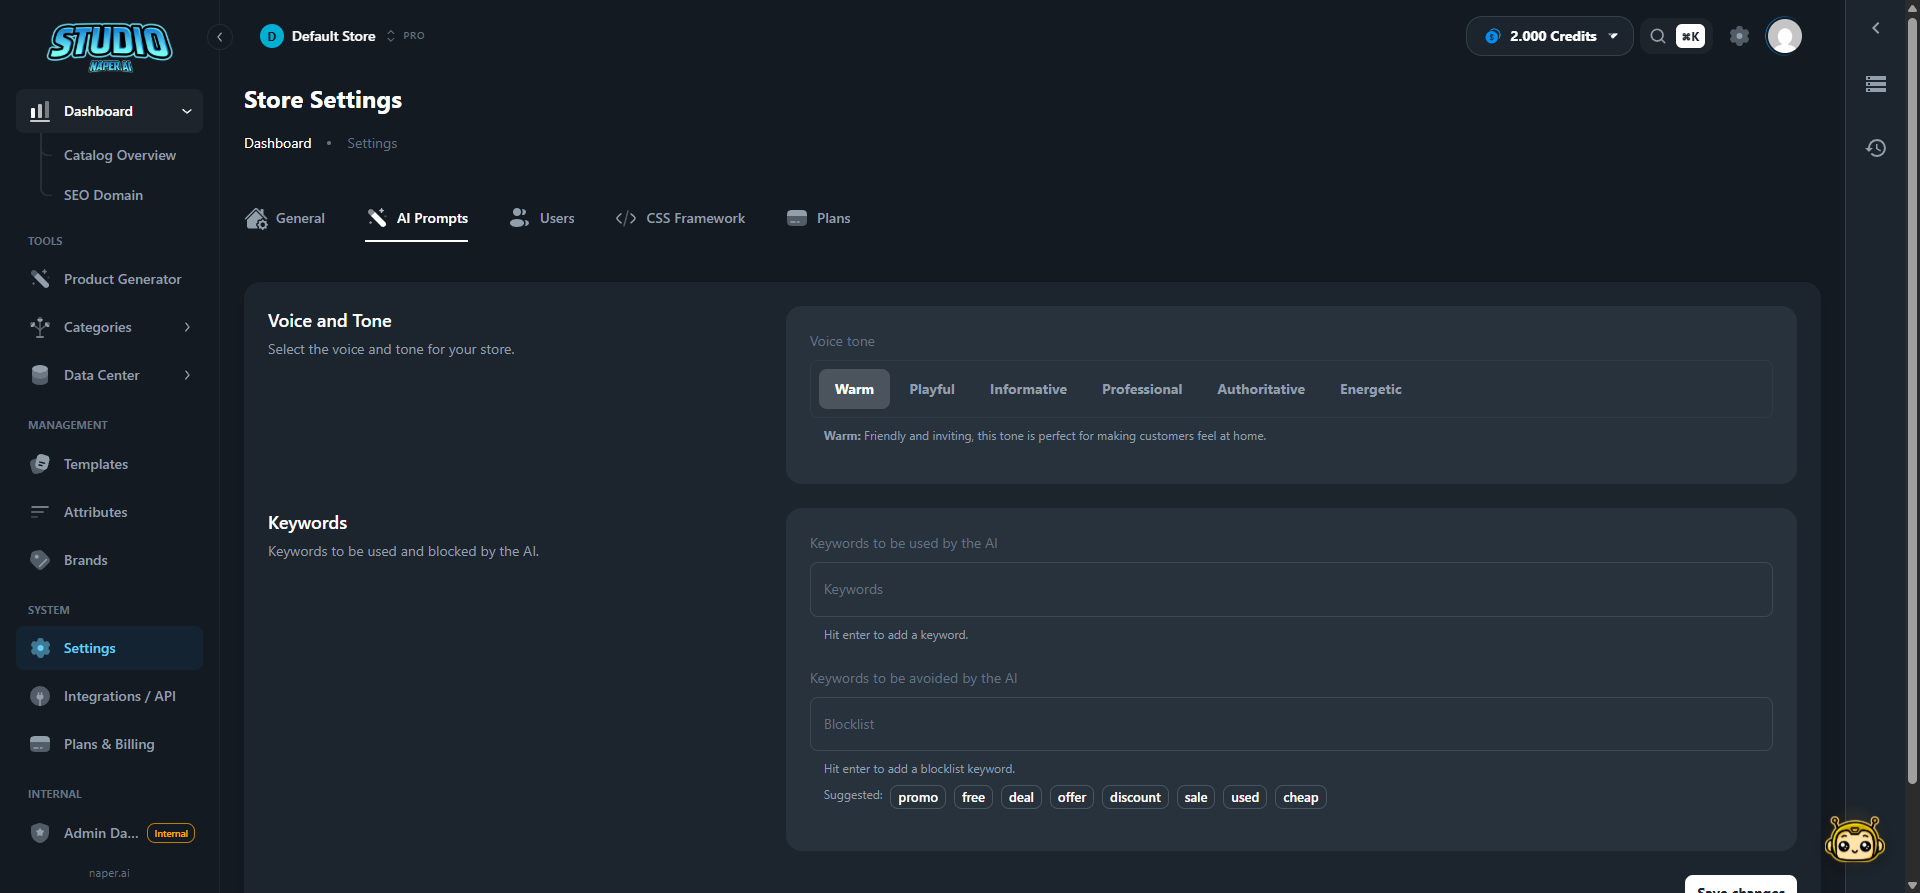
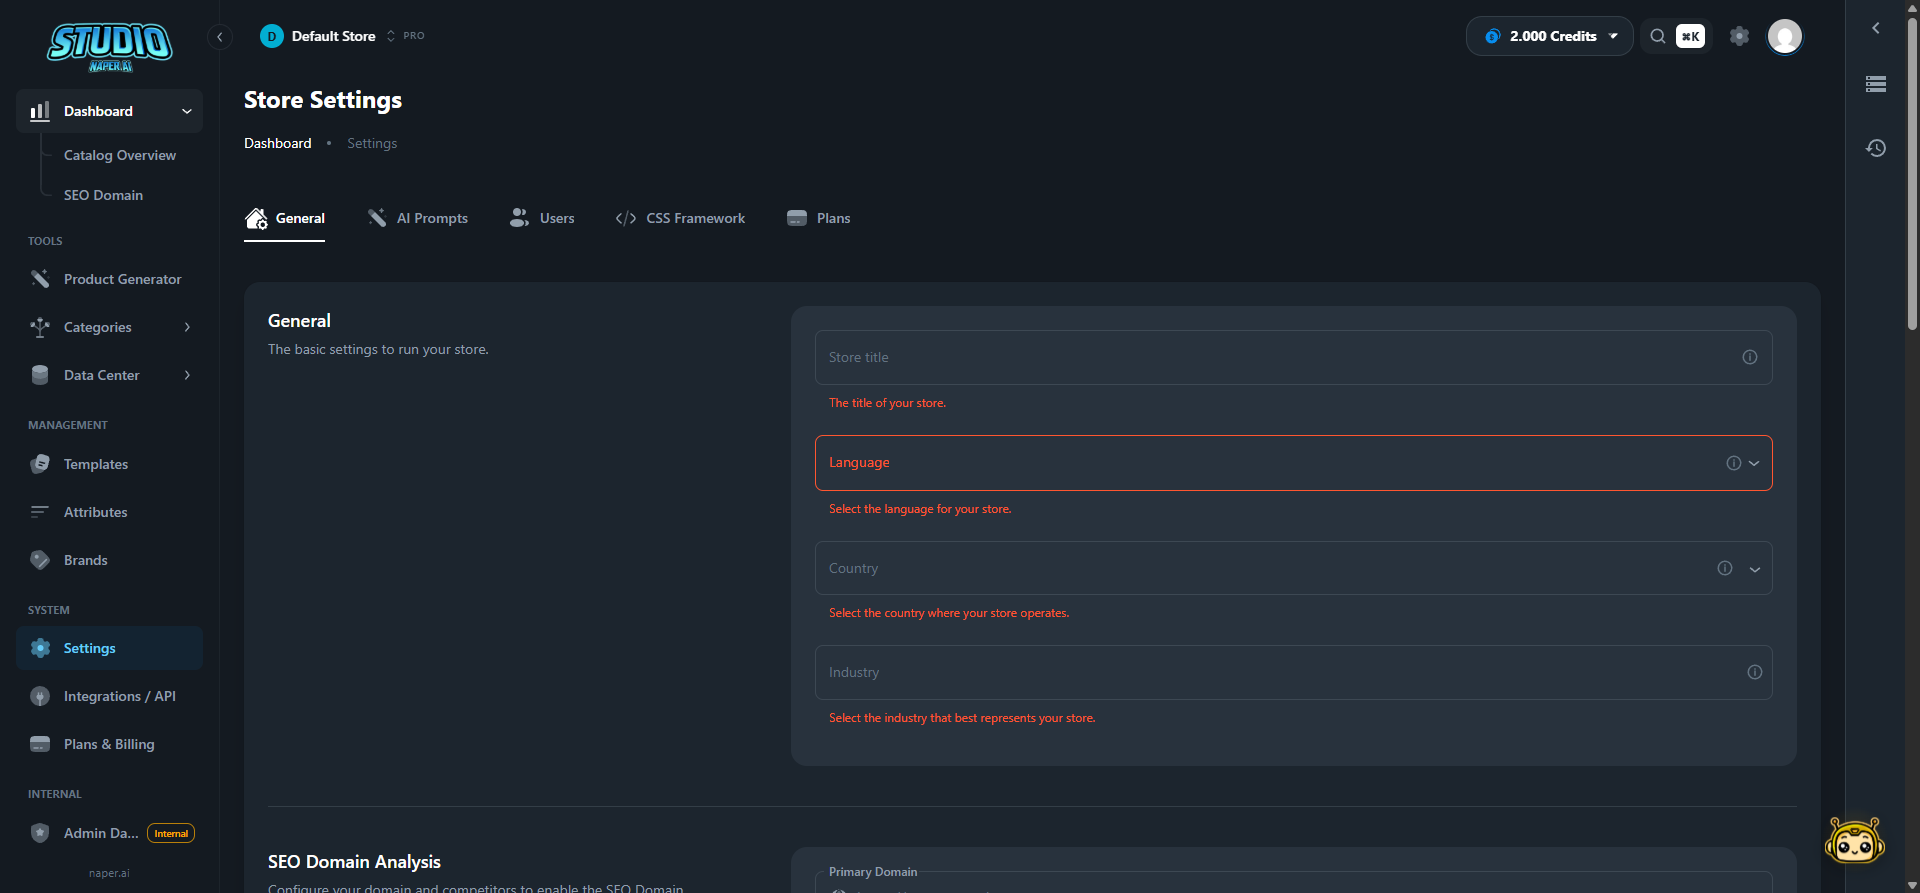
Store Settings
Brand Voice
SEO
SEO Report
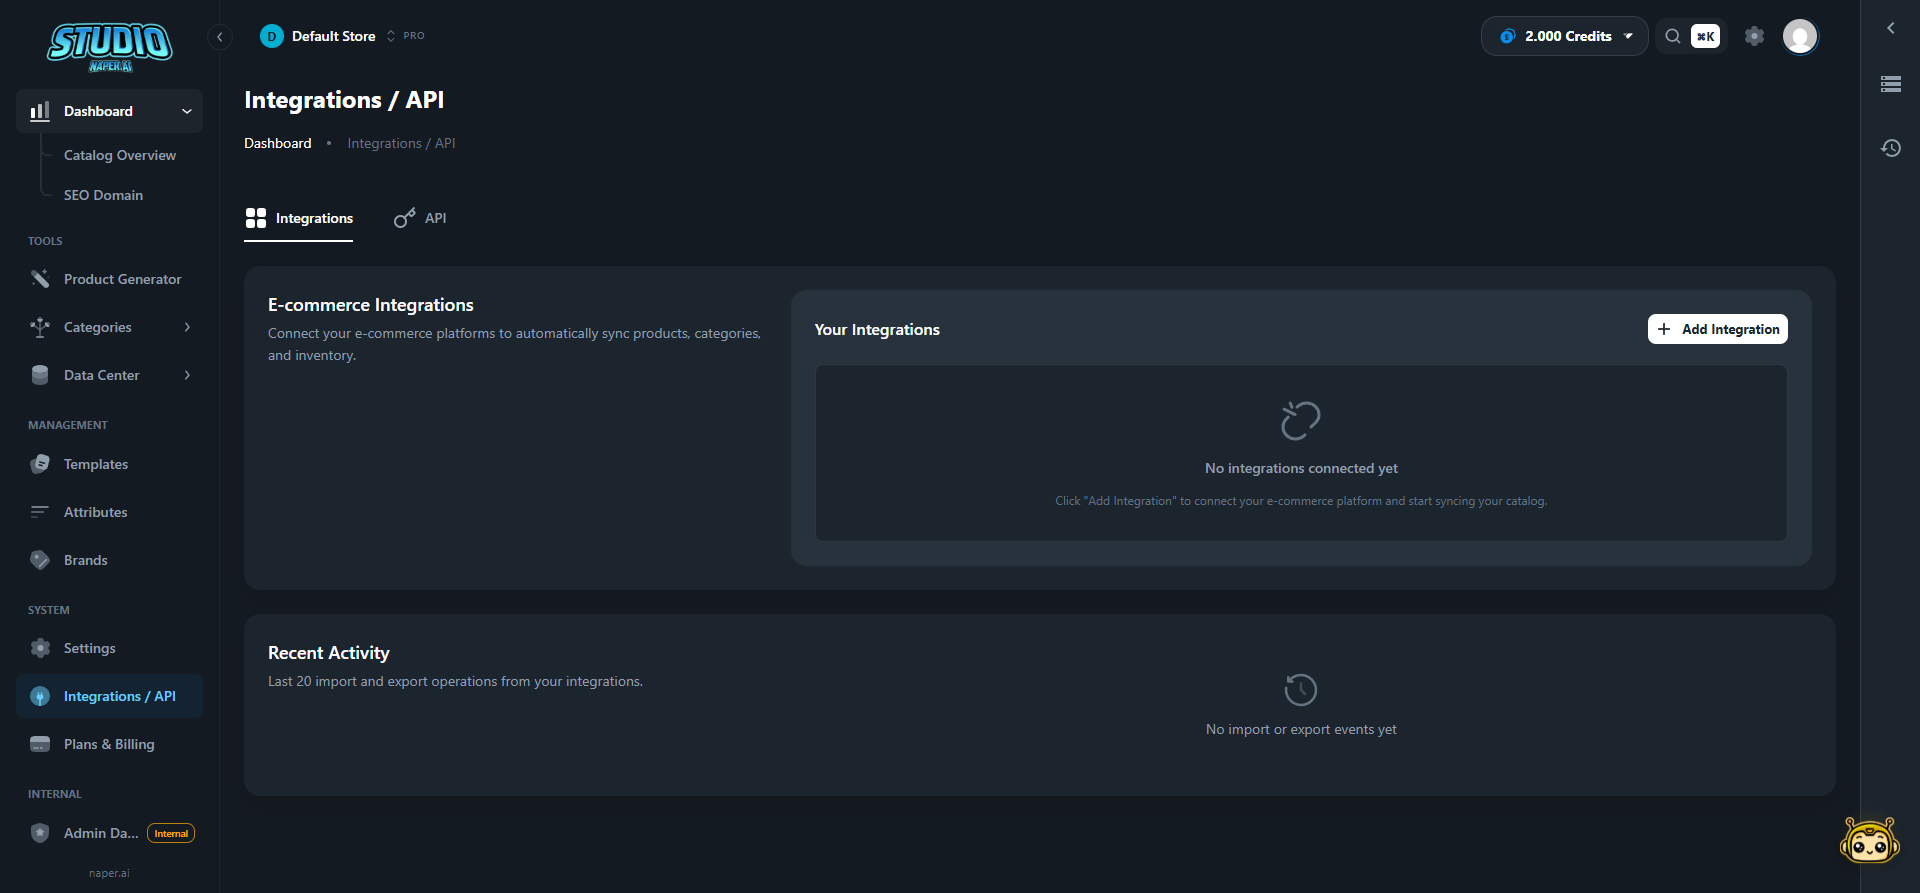
Integration
Connect Store
Import Products
Sync Data
Content
Blog Content
Enrich my product descriptions...
Import
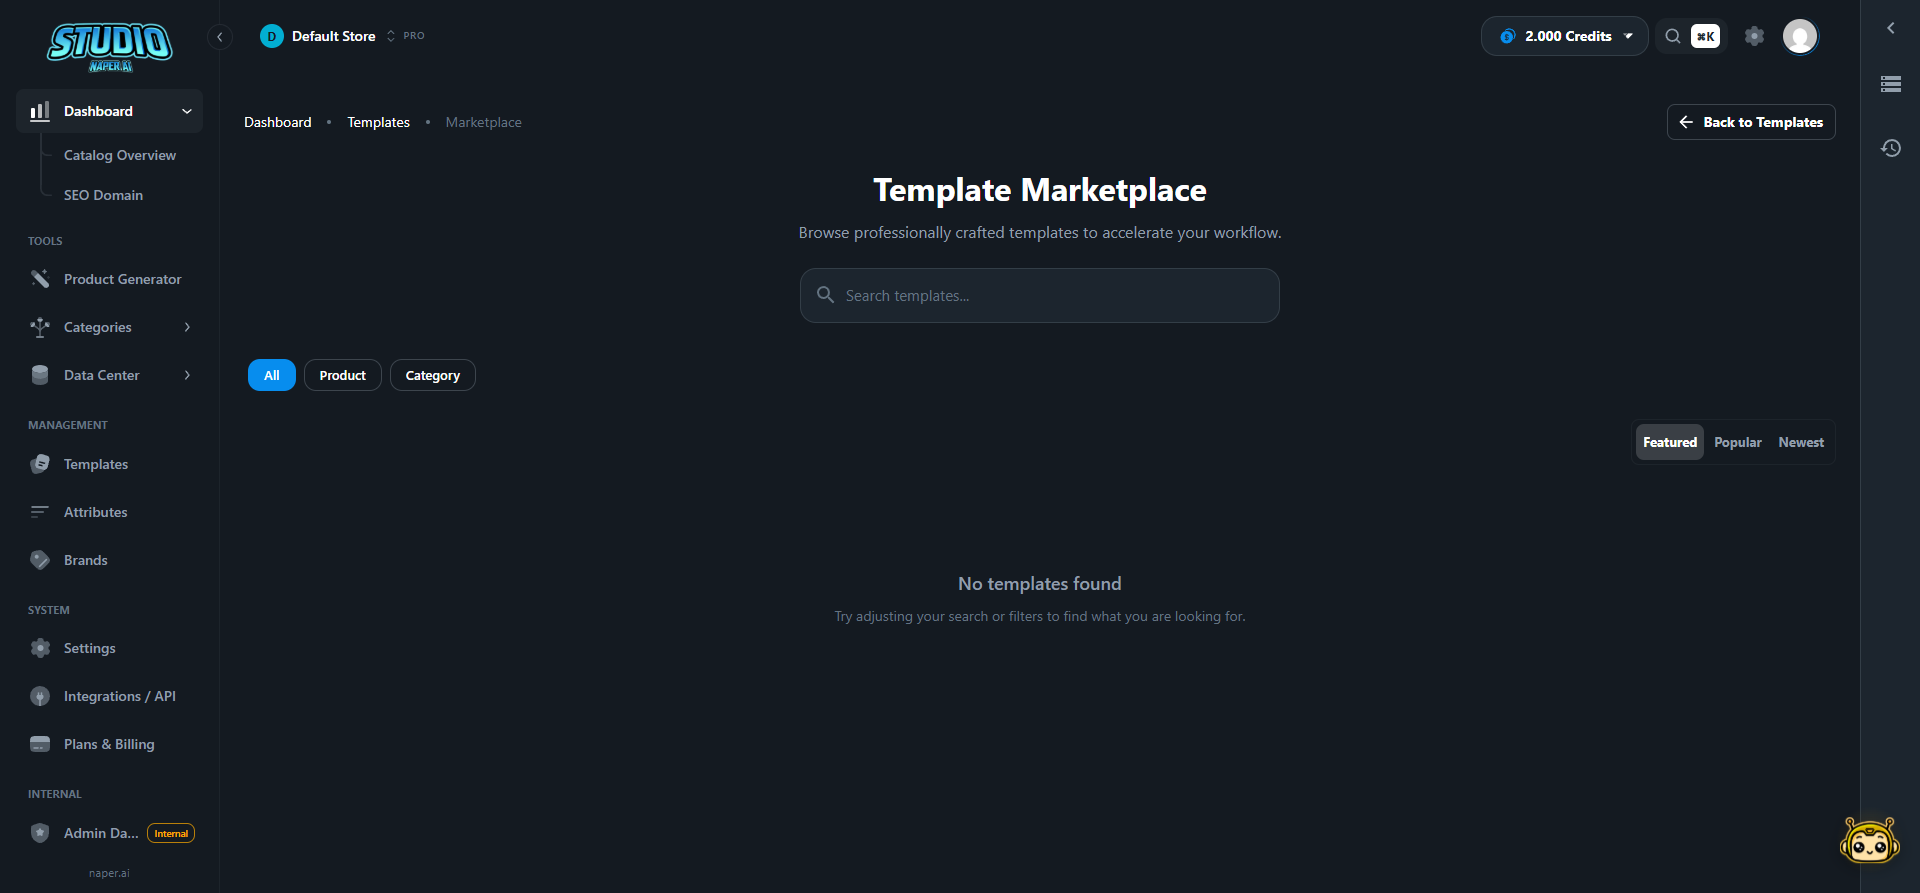
Templates
SEO
Health
Your Product
Before
17
QualityTITLE
Wireless Bluetooth Headphones
SHORT DESCRIPTION
Wireless headphones with bluetooth.
TAGS

See your catalog transform
From empty product pages to SEO-optimized listings in seconds
Choose a product to enrich
Select one of these sample products to see how AI enrichment transforms your catalog listings.

Wireless Bluetooth Headphones

Organic Coffee Beans

Running Shoes
One platform, every tool you need
From AI enrichment to API integration, everything to scale your catalog.
Manage your entire product catalog with AI. Generate titles, descriptions, SEO metadata, and attributes from URLs, images, barcodes, or scratch — then push enriched content to any e-commerce platform.

Programmatic AI enrichment at scale. Batch-enrich thousands of products, manage your catalog, and receive results via webhooks — all through REST endpoints.


One-click install. Sync and enrich your Shopify catalog.
Works with your stack
Connect Naper to your favorite platforms and tools.

Testimonials
What our users are saying
- “
 VTEX
VTEXWebcontinental managed to enrich 148,000 product listings in a single click using the Naper.ai platform.

Felipe Mocelin
Webcontinental - “
 Shopify
LK Sneakers has been with Naper.ai since the MVP and grew their Shopify store from 802 to 17,723 keywords indexed on Google.

Lucas Cimino
LK Sneakers - “Wake
Uncle K migrated from Vtex to Wake using Naper.ai. In the process, the category tree was rebuilt using Google search terms and product listings were enriched — all with Naper.ai.

André Buck
Uncle K - “Shopify
Fio a Fio uses Shopify and manages a large Collections structure with hierarchy using Naper.ai.

Pedro Arthur
Fio a Fio - “VTEX
Ikesaki delivers HTML product descriptions with full catalog coverage through Naper.ai integrated with Vtex.

Bruno Reis
Ikesaki - “API
BeConfident used Naper.ai's AI content API to create pages in bulk across multiple languages. Scale and relevant content that drove rapid organic growth.

Luan Cavallaro
BeConfident - “
 WooCommerce
Quartinhos optimized their WooCommerce with Naper.ai integration. Created new categories and updated the catalog with 9,000 products.

Daniel e Adriana Rezende
Quartinhos - “APIPartner
Viva Real and Zappi Imoveis used the Naper.ai API to create AI-powered content for category pages.
 NP Digital
 - “VTEX
HiperVarejo, with a catalog of nearly 200,000 items on Vtex, uses Naper.ai to turn part numbers into complete listings with images, attributes, and descriptions.
HVHiperVarejo - “VTEX
Abracasa and Abracadabra automated their catalog routine integrated with Vtex and webhooks to their ERP.
ABAbracasa / Abracadabra - “VTEX
Suprijá uses Naper Studio's Data Center for AI Deep Research on product images and standardization.
SJSuprijá - “
 WordPress
Aerotur used Naper.ai's WordPress integration to build content at scale and gain relevance on Google.
ATAerotur - “VTEX
Oscar Calçados automated the product registration process integrated with Vtex and revitalized their entire catalog using Naper.ai.
OCOscar Calçados
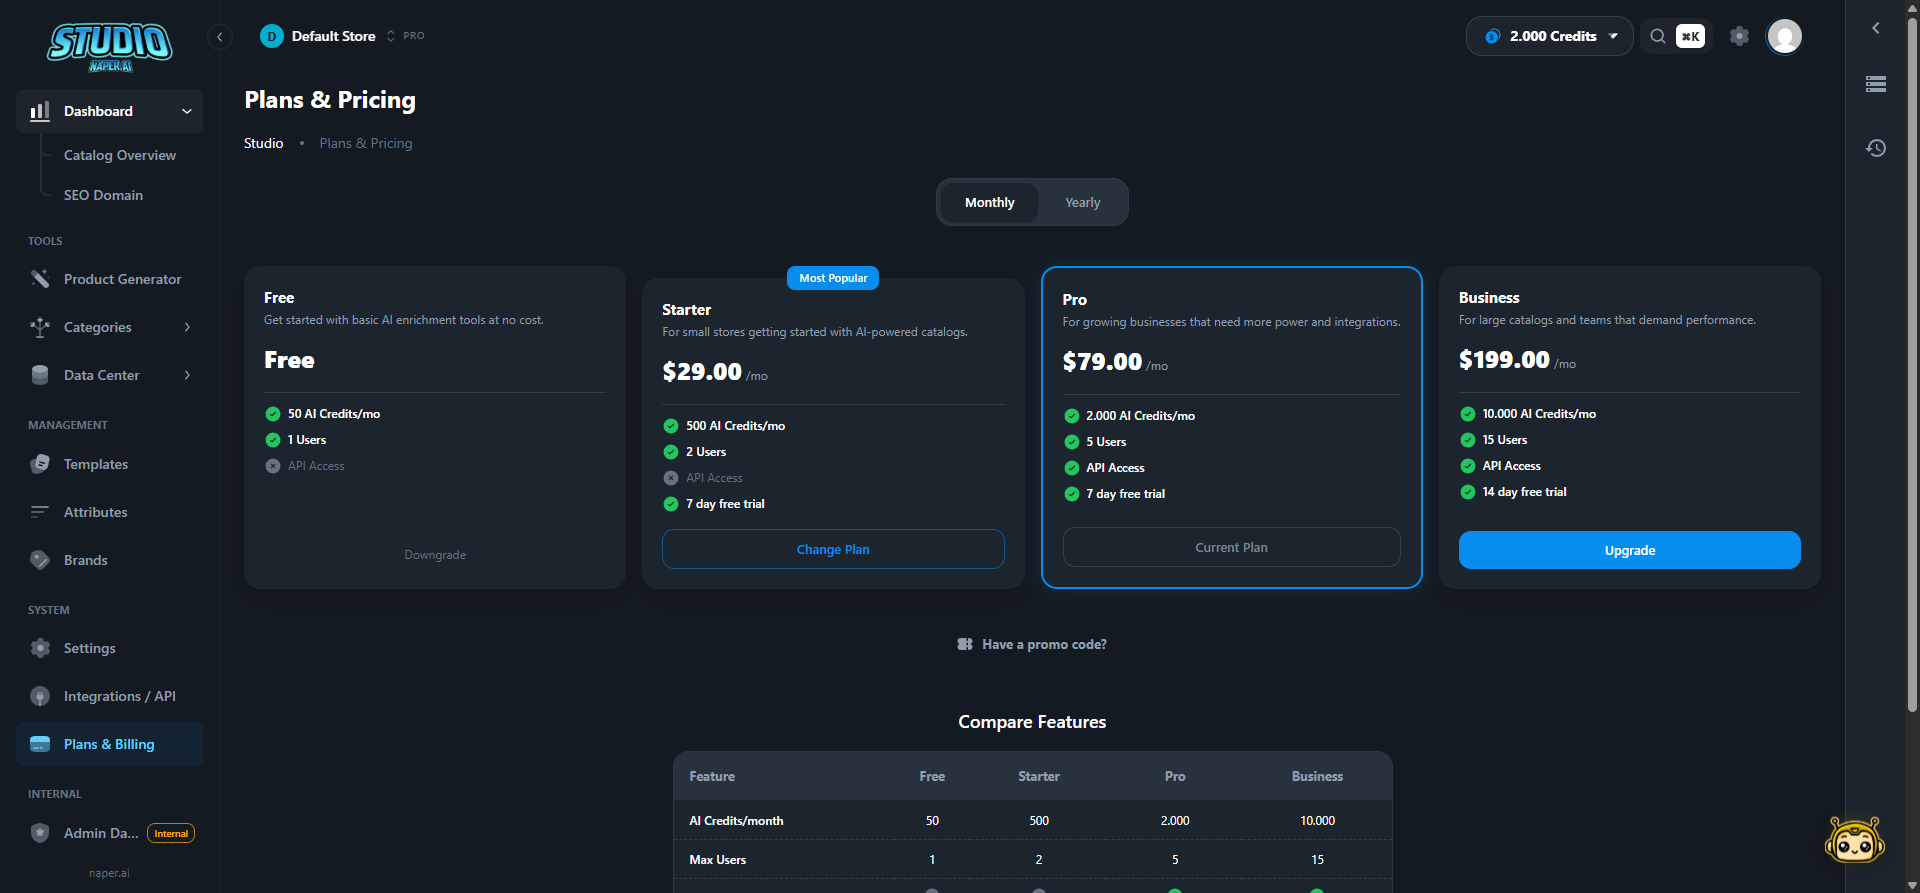
Simple, transparent pricing
Start free. Upgrade as you grow. No credit card required.
Built for developers
Full REST API with Bearer token authentication, rate limiting, and scope-based permissions.
RESTful endpoints
Bearer token auth
Webhooks & events
Rate limiting & scopes