Edit Category Tree – Customize and update your taxonomy
Step 1 – Open the Category Manager
Start managing your category tree visually.
- In the sidebar, go to Category Manager
- Select the root tree you want to edit
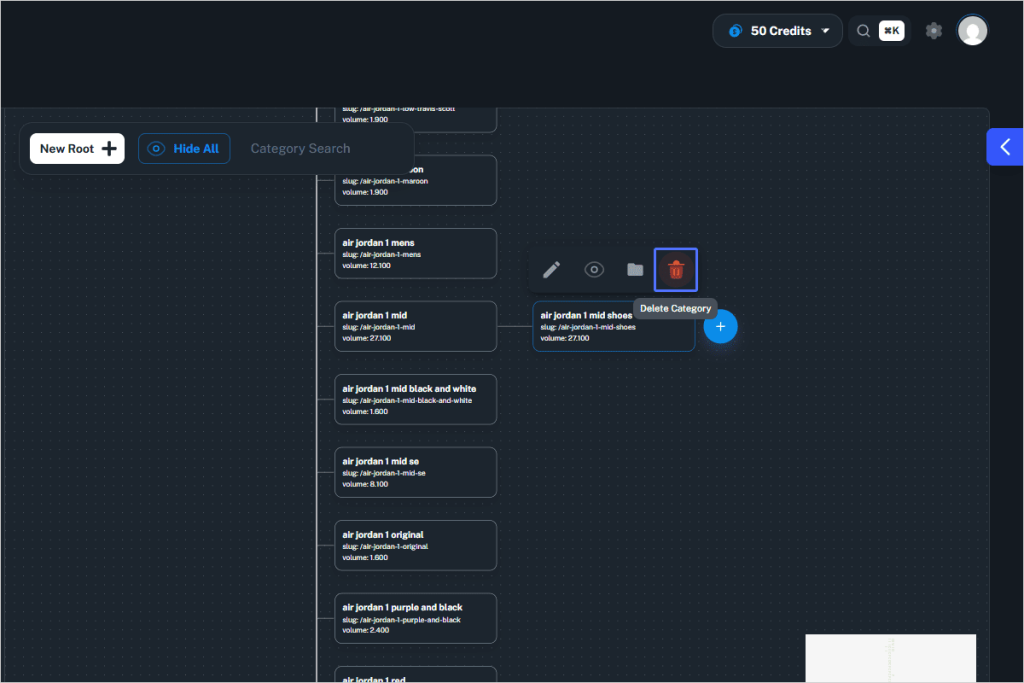
Step 2 – Edit Category Details
Modify a category’s name, slug, or volume.
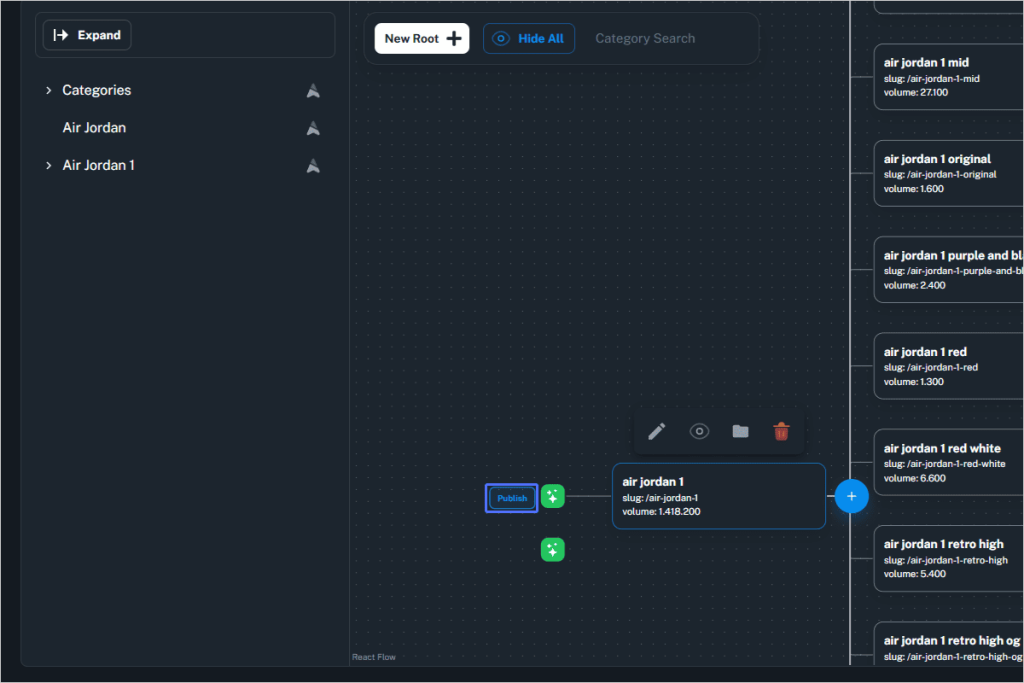
- Click the pencil icon to edit
- Update the title, keyword, or metadata as needed
Step 3 – Add New Category
Extend your tree with more branches.
- Click the plus (+) icon next to any node
- Choose a title and confirm to add a new child category
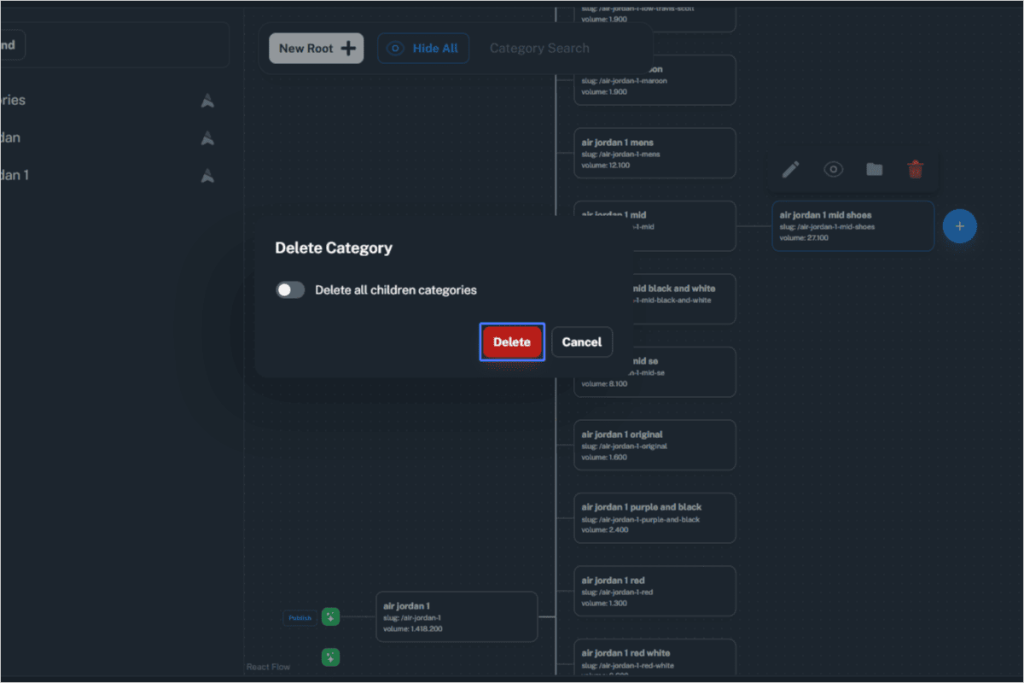
Step 4 – Delete Category or Subtree
Clean up irrelevant or duplicate branches.
- Click the trash bin icon
- Choose whether to delete child categories as well
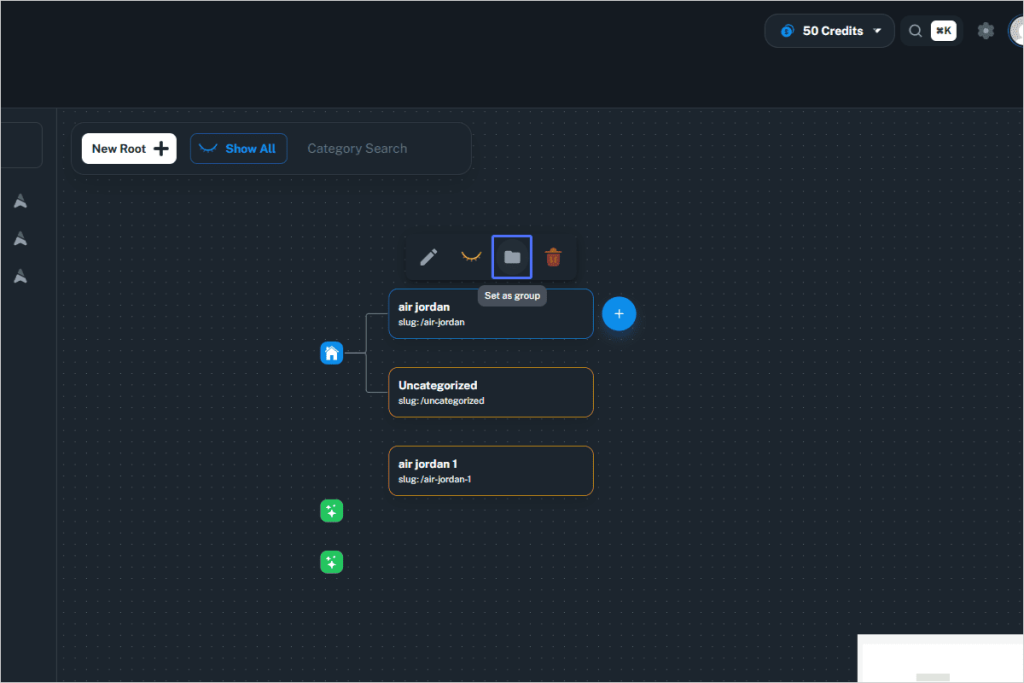
Step 5 – Set as Group (No URL Path)
Organize without affecting SEO structure.
- Click the folder icon
- This marks the category as a group, used for visual nesting only (not shown in the final URL path)
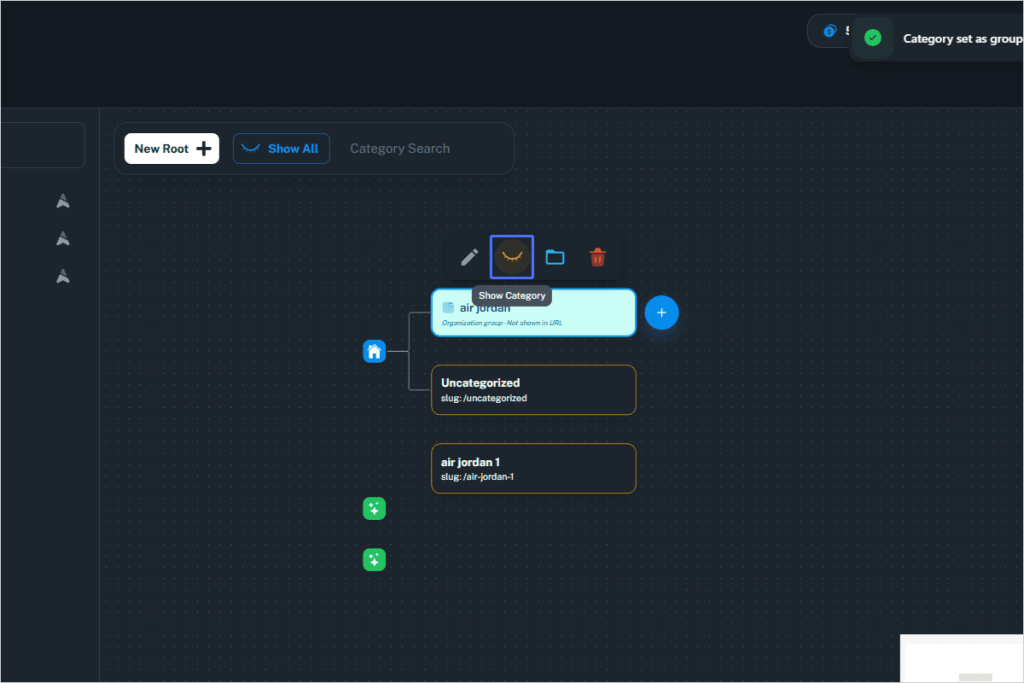
Step 6 – Show/Hide Categories
Control visibility during editing.
- Use the eye icon to hide or show branches of the tree
- Helps when working with large catalogs
Step 7 – Drag and Drop Categories
Reorganize hierarchy effortlessly.
- Click and drag a category node to reposition it
- Drop it on another to nest, or in-between to reorder
Drag and drop will maintain SEO volumes and existing subtrees.
Final Result
Using the full category editing toolkit in Naper.ai, you can:
- Build structured, SEO-optimized taxonomies
- Create visual groups without modifying URL paths
- Rapidly reorganize large catalogs using drag and drop
- Maintain clean metadata and delete outdated nodes
Your changes go live once you click “Publish” in the Category Manager.
